
Ever finish the laning phase and wonder how everyone else has more souls, better items, and a plan? You're not alone. Deadlock throws a lot at new players, but your first 12 minutes get much easier when you know what happens next.
This Deadlock early game guide is a quick match-clock playbook. It covers the first waves, jungle camps, breakables, bridge buffs, Sinner's Sacrifice, the Soul Urn, and the first Rift. You don't need to win every fight. You need to make your time count.
The short version: Farm your wave, create a safe opening, collect the next nearby resource, and get back before you miss the next wave.
Need exact spawn timers? Keep the Deadlock Timers page open in a second tab.
By Deadlock Item Builder · Match-clock guideDeadlock Laning Phase: Your First 12 Minutes at a Glance
- 0–2 MIN
 First WavesCollect souls. Trade only when it won't cost your farm.
- 2:00
 Small CampsPush first, then take a nearby Haunt.
- 3:00
 Boxes & StatuesPick up extra souls and possible permanent buffs.
- 4:30Setup WaveClear your wave to prepare for bridge buffs.
- 5:00
 Bridge BuffsUse lane priority to collect a safe buff.
- 8:00
 Sinner's SacrificeLook for a safe melee-only jungle pickup.
- 10:00
 Urn + BuffsCheck the wave, map and team before rotating.
- ~12:00
 First RiftWatch its warning, group up, and contest safely.
Rift timing varies: its first visual warning can appear from 10:00 to 12:00, and the capture point opens 80 seconds later. Treat the 12-minute mark as a reminder to prepare, not a guaranteed spawn.
0:00–2:00 · First Waves: Farm Before You Fight
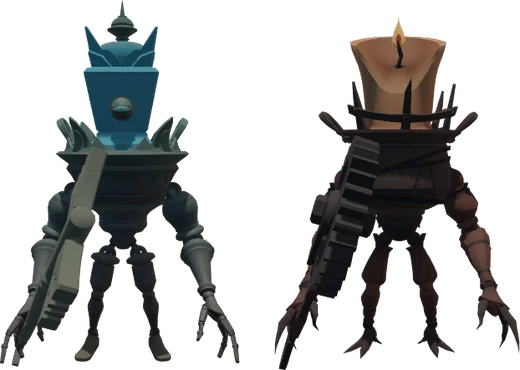
What to do: Stay in range for trooper rewards, collect the ground souls, and secure floating soul orbs when the enemy can contest them. If your lane matchup is favorable, pressure the opponent without missing your own farm. If it's rough, use cover and keep collecting.
Why it matters: The first few waves start your economy. Falling behind because you chased one low-health enemy is a painful way to begin a match.
Avoid: Treating kills as your only goal. You don't need to land the final bullet on every trooper to receive eligible nearby soul rewards, although finishing troopers still helps you control the wave.
Remember: A boring wave of reliable souls beats a flashy death at 1:30.
2:00 · Small Camps: Take the Bonus, Not the Bait
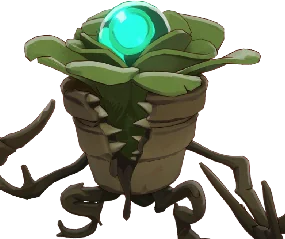
What to do: Small neutral camps, now called Haunts, start spawning at two minutes. Push your lane wave toward the enemy, check that it's safe to leave, and clear a nearby camp before returning.
Why it matters: The enemy has to deal with the wave while you collect extra income. That's how you add jungle farm without giving up lane farm.
Avoid: Running to a camp while a fresh enemy wave crashes into your Guardian. If you lose more lane souls than the camp pays, that detour didn't help.
Remember: Wave first → nearby camp → back to lane.
3:00 · Boxes and Golden Statues: Free Value Between Waves
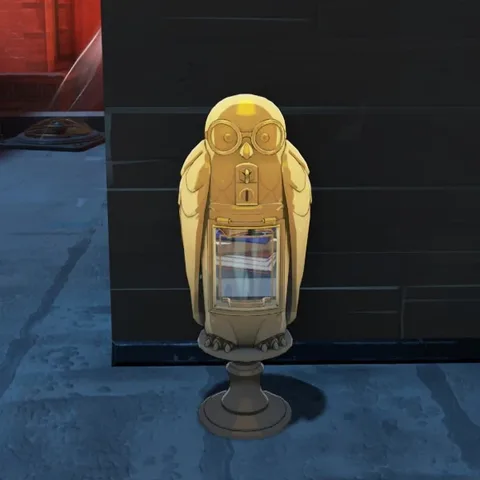
What to do: Look for nearby crates and golden statues, now called Buff Containers, while moving between waves. Crates can provide soul rewards; Buff Containers have a chance to drop a permanent stat bonus.
Why it matters: Those small pickups add up. You don't have to outplay anyone to grab a crate sitting along your normal route.
Avoid: Traveling deep into the enemy side for a single breakable while your lane gets pushed. Also, not every statue guarantees a buff. Most surface breakables begin appearing at 3:00; tunnel breakables follow a later schedule.
Remember: Treat breakables as a bonus on your route, not an excuse to abandon your lane.
4:30 · The Setup Wave: Prepare for the Bridge Buff
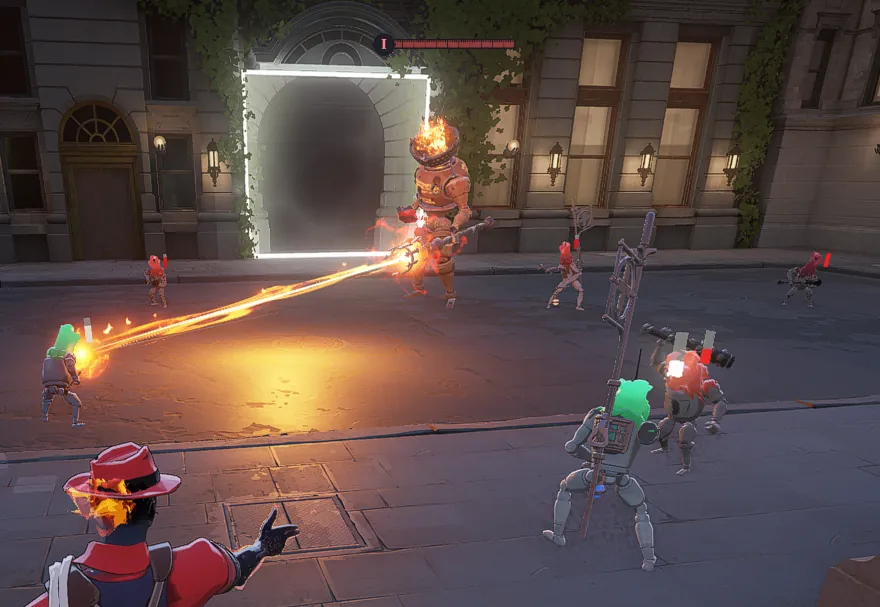
This is one of the most useful Deadlock laning tips to memorize.
What to do: As five minutes approaches, clear the wave quickly if it's safe. You want the enemy dealing with troopers while you move toward the bridge.
Why it matters: The bridge buff spawns at 5:00. Having your wave pushed gives you a head start and forces the opponent to choose between the buff and their lane.
Avoid: Assuming this is a special extra-large wave. It's the timing that makes the wave important. Don't burn every ability or walk into a losing trade just to push it.
Remember: The bridge buff fight often starts with the wave before it.
5:00 · Bridge Buffs: Turn Lane Priority Into a Reward
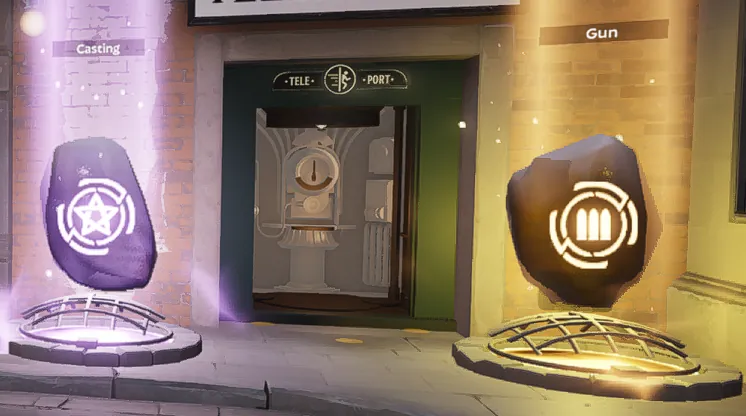
What to do: If your wave is handled, check the bridge and collect the buff when you can do it safely. If enemies are already waiting with better numbers, don't force a heroic solo contest.
Why it matters: Bridge buffs offer a temporary advantage, and they return every five minutes. The earlier you recognize the timing, the easier it is to plan around them.
Avoid: Winning the buff and then staying in the river while an entire wave dies in lane. Take the advantage back into your next decision. Medium camps also begin spawning at 5:00, but they're not a reason to ignore wave income.
Remember: Get there first when you can; get out safely when you can't.
8:00 · Sinner's Sacrifice: A Bigger Jungle Opportunity
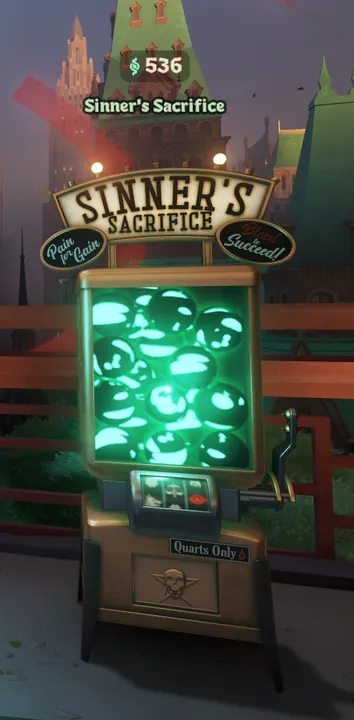
What to do: Check whether a nearby Sinner's Sacrifice site is available after you've handled your wave. The machine is damaged with melee attacks, so make sure you can finish it without getting jumped.
Why it matters: Sinners provide souls and can reward permanent stat bonuses. Stealing an enemy-side Sinner can be especially valuable because you gain resources they might otherwise take.
Avoid: Walking into an unscouted enemy jungle because you saw an objective icon. Some Sinner sites share a location with Haunts, and the area may take longer to clear than you expect.
Remember: A safe Sinner is extra income. An unsafe one can become a donation.
10:00 · Soul Urn and Bridge Buffs: Think Beyond Your Lane
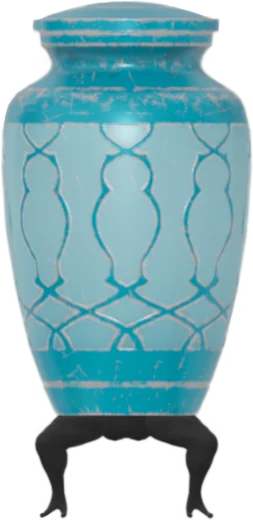
What to do: At ten minutes, the first Soul Urn appears and bridge buffs return. Check where your teammates are, which lanes need clearing, and whether you can safely help contest or escort the Urn.
Why it matters: This is the point where your early farming starts supporting bigger team decisions. Pushed waves can make an Urn route safer and force enemies to respond elsewhere.
Avoid: Leaving a dangerous wave to cross the whole map for an objective your team cannot realistically contest. You can help an Urn play by clearing waves, controlling a route, or protecting the carrier — not only by carrying it yourself.
Remember: Check the map before you chase the objective marker.
Around 12:00 · First Rift: Turn Early Farm Into Map Pressure
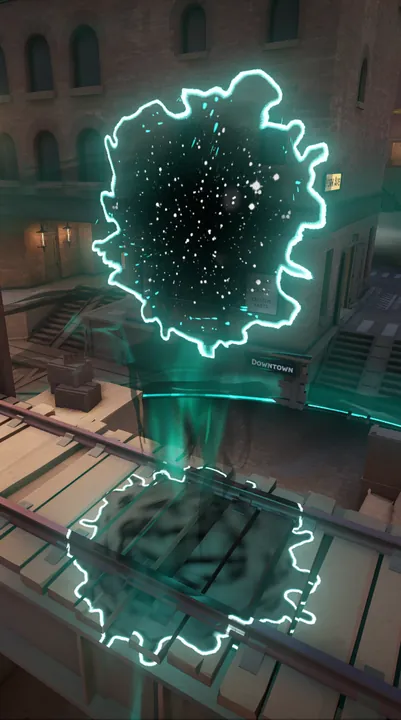
What to do: Watch for the Unstable Rift warning on a side-lane bridge. Finish your immediate wave, spend available souls when practical, and move with teammates who can contest the area.
Why it matters: A Rift capture awards team value and sends empowered Rift Troopers down the affected lane. It can turn a solid early game into pressure on enemy structures.
Avoid: Treating 12:00 or 13:00 as a guaranteed opening time. The first visual effect can begin between 10:00 and 12:00, with a map announcement one minute later and the capture point opening 20 seconds after that. Don't arrive alone because a timer told you to.
Remember: Watch the warning → clear your wave → regroup → contest.
Losing Lane? Follow This Simpler Plan
If you're behind in the Deadlock laning phase, you don't need to win one miracle fight to fix everything.
- Collect the next safe wave. Stop missing guaranteed income because you're frustrated.
- Take nearby, uncontested resources. A small camp or breakable route can help you recover without gambling your life.
- Let unsafe objectives go. If the enemy has five players at the Rift and your team is scattered, don't be the sixth highlight clip.
- Spend your souls and regroup. A useful item purchase and one good team fight can change the next few minutes.
Your job isn't always to dominate your lane. Sometimes it's to lose less and arrive useful.
Three Early-Game Habits That Matter More Than Perfect Aim
- Check the wave before you leave. Every camp, buff, and rotation has an opportunity cost.
- Think one timing ahead. At 4:30 you're preparing for 5:00; at 10:00 you're preparing for Urn and the Rift.
- Play for the next advantage. Don't turn a good pickup into a bad fight because you feel unstoppable.
These habits are the backbone of a good Deadlock early game. For the deeper theory behind pushing and roaming, read our Lanes & Rotations Guide. For difficult matchups, see Laning Counterplay.
Frequently Asked Questions
What is the laning phase in Deadlock?
How long is the laning phase in Deadlock?
How do you win lane in Deadlock as a beginner?
When should I jungle in Deadlock?
When does the first Rift spawn in Deadlock?
Quick Recap: Learn the Clock, Then Play the Game
The best way to improve your first 12 minutes is to learn the rhythm: wave → nearby resource → wave → next objective.
You don't need to win every trade or secure every buff. If you consistently farm, show up for objectives with your team, and stop wasting the time between waves, you'll arrive in the midgame with a much better chance of winning.
Keep These Open for Your Next Match
 Game Intel
Deadlock Timers
Every camp, buff, Urn and Rift timing with an optional match clock.
 4 minEconomy & farming
Deadlock Souls & Farming Guide: Earn More and Fall Behind Less
Secure and deny orbs, unsecured souls, and why you keep falling behind.
 3 minMap & macro
Deadlock Lanes & Rotations Guide: When to Push, Farm and Roam
Wave priority, when to rotate, when to jungle and how to turn pressure into objectives.


 8 minLaning phase
Deadlock Laning Guide: Counter Poke, Melee and Sustain
Use cover, sustain and cooldown windows first, then buy a small answer to recurring trades.
 3 minEconomy & objectives
Deadlock Sinners Guide: Sacrifice Machines, Spawns & Rewards
When Sinner’s Sacrifice machines spawn, melee rewards and when to contest them.
4 minObjectivesDeadlock Soul Urn Guide: Spawn Times, Routes & Rewards
When the Urn spawns, safer delivery routes and how to protect your carrier.